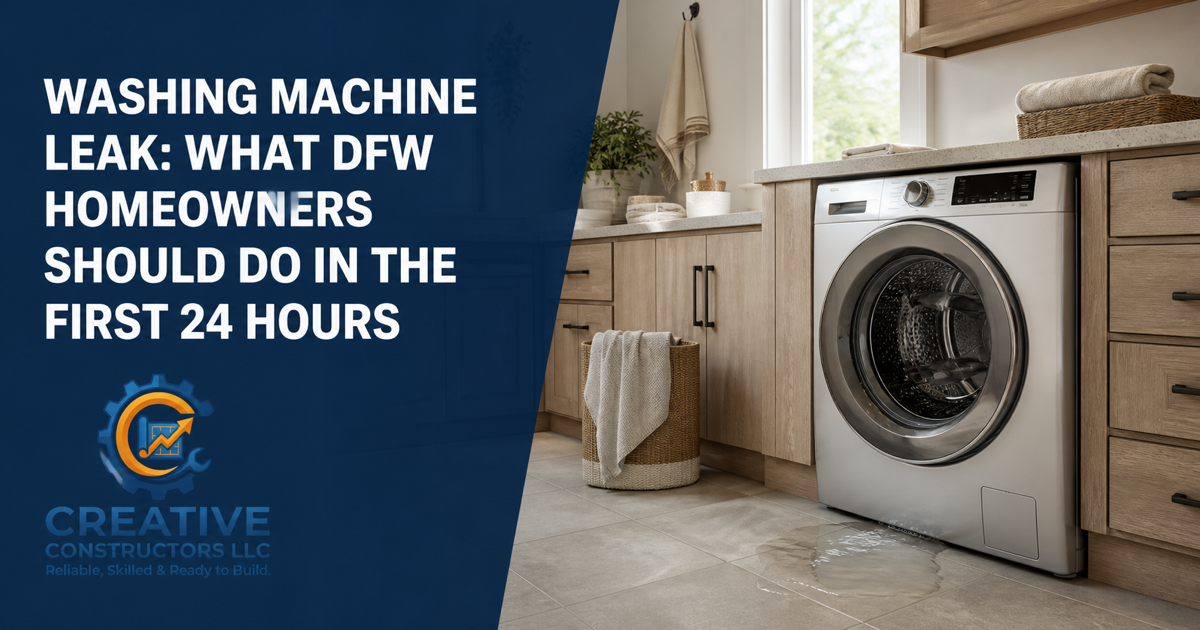
A washing machine leak can damage flooring, drywall, cabinets, and rooms below. Learn the safe first steps, why fast drying matters, and when to call for help.
A washing machine leak can move from a small plumbing problem to damaged flooring, drywall, cabinetry, or rooms below in a surprisingly short time. The first priorities are safety, stopping the water, documenting what happened, and beginning a thorough drying process.
This guide covers the practical first steps for a typical household washing machine leak. If the water may contain sewage or another contaminant, if electrical equipment is wet, or if the damage is extensive, keep clear and bring in qualified help.
1. Protect people before protecting the room
Water and electricity are a dangerous combination. If water has reached an outlet, cord, appliance connection, or electrical equipment, do not step into standing water or touch wet electrical devices.
The CDC advises shutting off power at the main breaker when electrical circuits or equipment are wet or near water—but only when the panel can be reached safely without entering standing water. If safe access is not possible, call an electrician or the utility company instead. Do not restore power to wet equipment until it has been inspected and is completely dry.
If there is no electrical hazard and you can reach the washer safely, stop the appliance. Close the hot- and cold-water supply valves behind it. If a valve will not close or the leak continues, shut off the home's main water supply.
2. Document the damage before moving everything
Once the area is safe, take clear photos and video before cleanup changes the scene. Capture:
the washer, hoses, valves, drain connection, and visible source of the leak;
the full laundry-room floor and each affected wall;
wet baseboards, cabinets, flooring transitions, and nearby rooms;
any staining or sagging on the ceiling below; and
damaged belongings.
Write down when the leak was discovered, approximately how long it may have run, and the steps taken to stop it. If you expect to make an insurance claim, contact the insurer promptly and follow its instructions before discarding damaged materials unless safety requires immediate removal.
3. Remove standing water and start drying quickly
For a limited clean-water leak, use towels, a mop, or a wet-rated extraction vacuum to remove standing water. Do not use an ordinary household vacuum.
Speed matters, but visible dryness is not the same as complete dryness. The EPA recommends drying wet or damp areas and materials within 24 to 48 hours after a leak or spill; in most cases, that timing helps prevent mold growth. Dehumidifiers and appropriate air movement can help when the water source is clean and it is safe to use electrical equipment.
If the water is contaminated, or if mold is already visible, do not automatically set up fans. The EPA notes that contaminated-water situations require different precautions, and air movement can spread contaminants or mold spores.
4. Check where water may have traveled
Laundry-room leaks rarely stay inside the visible puddle. Water can move:
beneath floating or plank flooring;
into carpet pad in an adjoining room;
behind baseboards and wallboard;
under cabinets or built-in shelving;
into the subfloor; and
through the floor assembly to the ceiling below.
Look for swelling, cupping, buckling, soft drywall, peeling paint, loose trim, musty odors, or new discoloration. A moisture meter and a methodical inspection can help identify materials that still hold moisture after the surface looks dry.
Do not paint, caulk, or install new finishes over damp materials. The water source must be corrected and the assembly thoroughly dried before repairs are closed up.
5. Decide what can be cleaned and what may need removal
Hard, nonporous surfaces can often be cleaned and dried after a clean-water leak. Porous materials are less predictable. Saturated carpet pad, insulation, swollen composite cabinetry, and badly damaged drywall may not dry reliably in place.
The right decision depends on the water source, how long the material stayed wet, the depth of saturation, and whether mold is present. EPA cleanup guidance separates clean-water damage from sewage or other contaminated water and recommends experienced professional help when the contamination or scope exceeds the homeowner's expertise.
People with asthma, chronic lung disease, allergies, or weakened immune systems should not participate in mold cleanup. CDC guidance recommends protective equipment for mold work and warns never to mix bleach with ammonia or other cleaners.
6. Know when the repair is more than a simple cleanup
Professional evaluation is a sensible next step when:
water reached electrical equipment or outlets;
the leak ran long enough to affect walls, flooring, cabinetry, or the room below;
the water source may be contaminated;
materials cannot be dried promptly;
visible mold or a persistent musty odor develops;
flooring swells, separates, or remains damp; or
the plumbing source is uncertain or continues to leak.
A complete repair may involve more than replacing a washer hose. Plumbing correction, moisture assessment, selective removal, drying, drywall repair, texture matching, trim work, flooring repair, and painting may all need to be coordinated in the proper sequence.
Creative Constructors has completed a University Park laundry-room restoration after a washing machine leak that required plumbing and finish repairs, including drywall, texture matching, and painting. That kind of multi-trade coordination helps prevent a repair from stopping at the first visible symptom.
7. Reduce the chance of another washing machine leak
After the room is restored, make prevention part of routine home maintenance:
inspect hot- and cold-water hoses for cracks, bulges, corrosion, or loose fittings;
keep the shutoff valves accessible and confirm household members know where they are;
check the drain hose and standpipe for secure placement and signs of backing up;
follow the washer manufacturer's installation and maintenance instructions;
avoid overloading the machine; and
investigate drips, slow drains, unusual movement, or moisture instead of waiting for a larger failure.
If a leak has affected more than the immediate surface, Creative Constructors can help assess the visible damage, coordinate the appropriate repair sequence, and identify where specialized plumbing, electrical, or remediation support may be needed.